Invented in Ukraine
The system of neuropsychological development and correction «Ambidexter» on the NodeMCU platform
Technical page
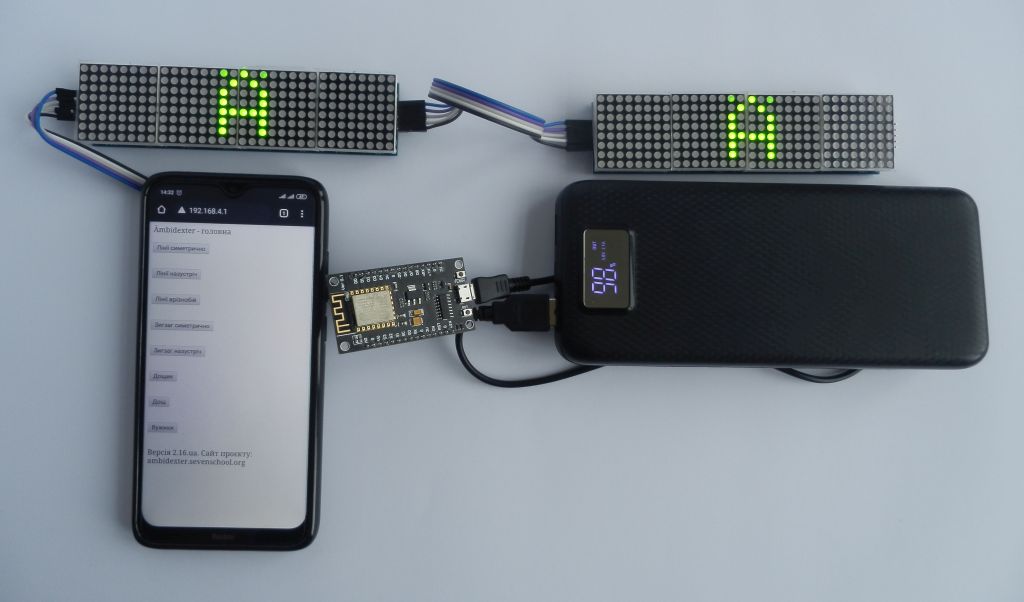
Technical details of development
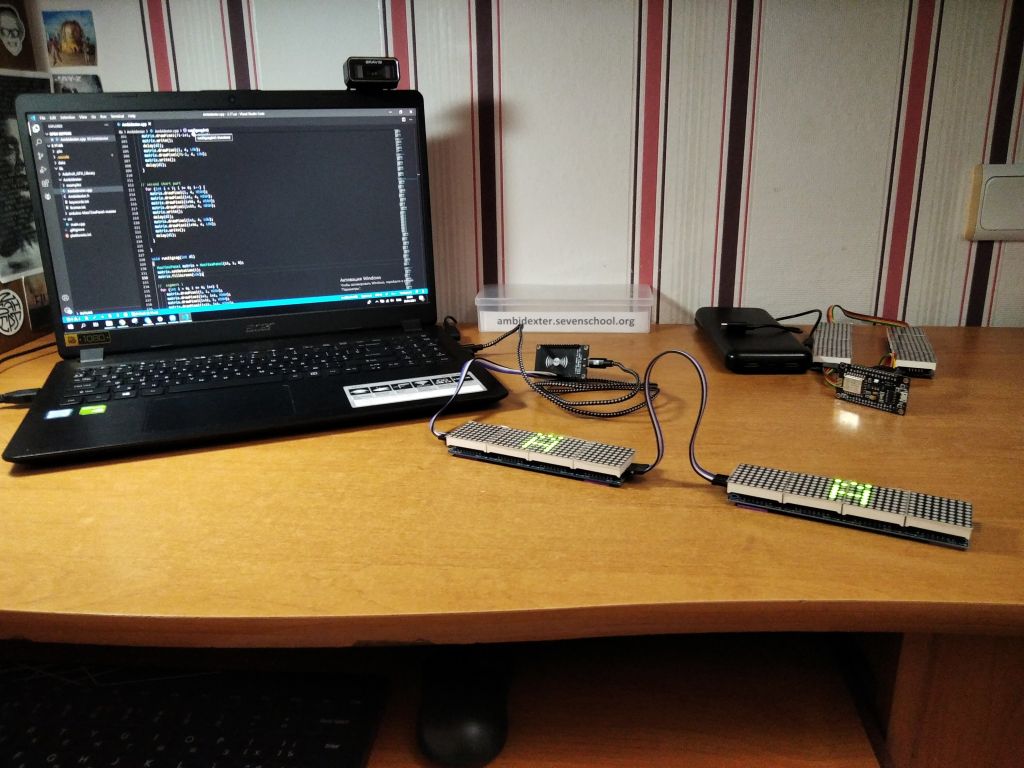
The system software is written in the Arduino C programming language. The PlatformIO environment installed in Microsoft’s Visual Studio Code is chosen for development. The exercises developed for the project are grouped into a program library, which is designed according to the structure accepted in the industry.
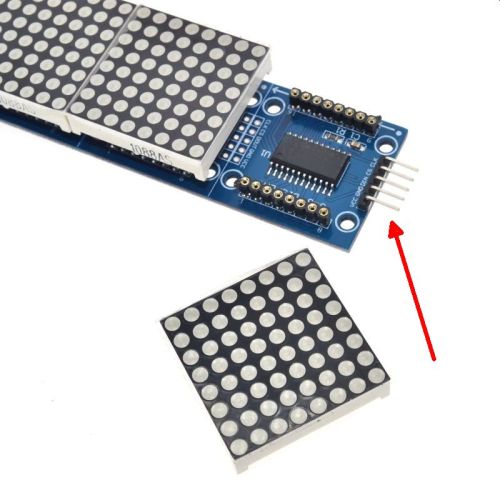
Preparation of one of the MAX7219 panels
To connect two MAX7219 LED panels, you need to solder the included connector to one of the panels. This is the only time you will need a soldering iron, but sealing the connector is a simple operation, accessible even to a beginner. Here’s what this connector looks like:
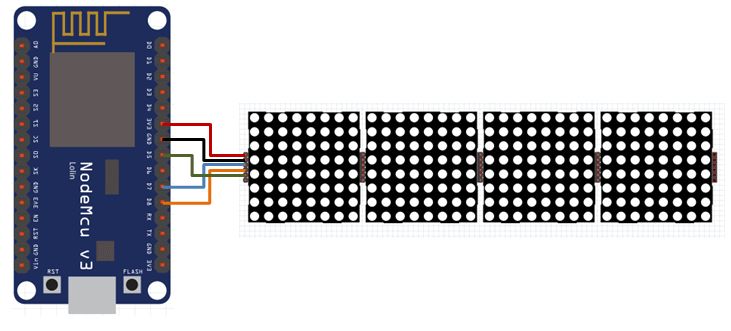
Connecting the NodeMCU controller to the MAX7219 LED panel
| Pin in NodeMCU | Pin in MAX7219 |
| 13 (D7) | DIN |
| 14 (D5) | CLK |
| 18 (D8) | CS |
| +3,3 V or +5 V | VCC |
| G (ground) | GND |
Connection between MAX7219 LED modules
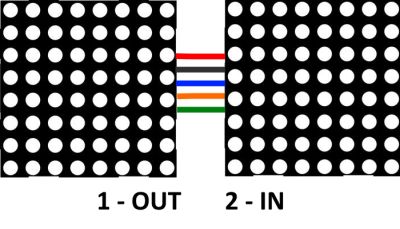
| OUT connector of the first MAX7219 module (connected to the controller) | IN connector of the second MAX7219 module |
| DIN | DIN |
| CLK | CLK |
| CS | CS |
| VCC | VCC |
| GND | GND |
Algorithm for downloading software in NodeMCU
1. Download and install the driver for the CH340G chip that connects the controller to the computer. After installing the driver, you need to connect the NodeMCU to the computer, find the CH340G in the device list and remember the COM port number that Windows assigned to the NodeMCU:

2. Download and unpack Flash Download Tools from the official site (for Windows)
3. Download firmware file — ambidexter_ua.bin (in Ukrainian) or ambidexter_en.bin (in English)
4. Step-by-step download the software in NodeMCU, taking into account the COM-port number defined in item 1:


Author the system «Ambidexter»: Viktoriia Kondratiuk,
email: vikakndrtk@gmail.com

© 2020–2024 Viktoriia Kondratiuk
